Jane: I’ve just finished a couple of months’ whopping workload and lifted my head to see…snow! A few flakes anyway, fluttering down yesterday, and more on the way according to the weather people. So we decided to spend the freezing weekend inside, lighting a big log fire, doing Stir-up Sunday pud-making and thinking of new present ideas to make for Christmas. One of them was Bath Bombs, inspired by the belief that at Christmastime you can’t go wrong with a bit of pampering and a lot of fizz.
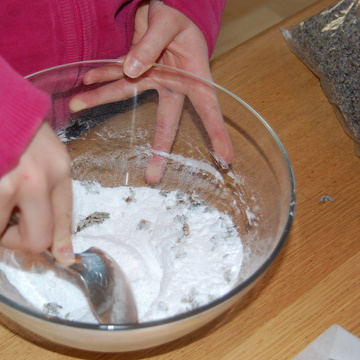
The bombs are quick and easy to make – though take 12 hours to dry – and look very seasonal made in the shapes of Christmas trees and hearts, then wrapped in cellophane and ribbons. They’re exciting to use too: when you drop one in your bath it fizzes and twirls like a Catherine wheel, releasing its skin-soothing oils and fragrance for a good soak. All you need are a couple of packets of citric acid (from chemists), bicarbonate of soda and vegetable oil (we used sunflower but almond and olive are lovely on the skin). We added some dried lavender flowers (or you can use any fragrant essential oil you like) and a bit of colouring too. In a dry glass bowl, measure out 1 part citric acid to 2 parts bicarbonate of soda. Stir gently but thoroughly with a metal spoon – the mix is quite potent and can make you sneeze so stand back while stirring.
We added in the lavender flowers next, stripped from their stalks, or stir in a few drops of essential oil if using. Then add in half teaspoonfuls of oil one at a time, stirring really well, until you get a clumpy but not wet mixture. You can also add a few drops of colouring here – we used green food colouring but be careful not to put in too much as the mixture can start fizzing, which you want to avoid at all costs.
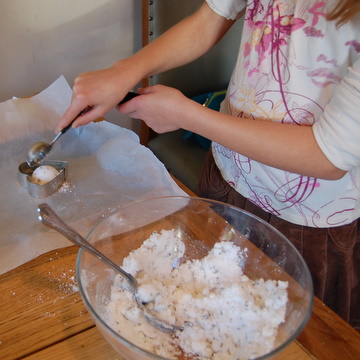
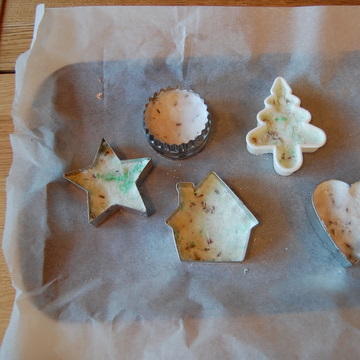
Then spoon the bomb mixture into seasonal cookie cutter shapes, placed on a baking tray covered with greaseproof paper. Press the mixture down hard, then leave overnight to dry.
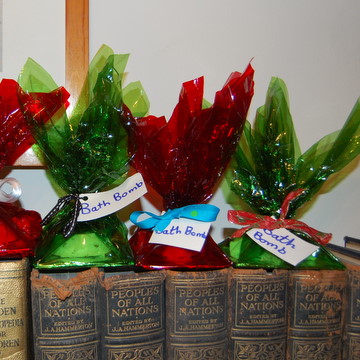
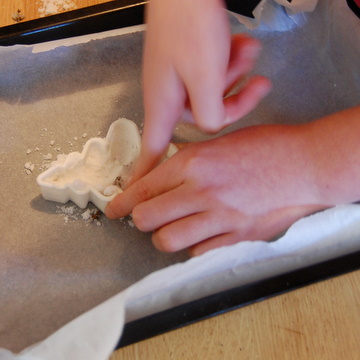
Next day, push the bombs carefully out of the moulds. Lay them on a small piece of cardboard covered with silver foil or wrapping paper, then fold over a cellophane sheet and tie with ribbon and a label.
|